
CNC Banjo Bridge Making

Today I improved my banjo bridge making process using the CNC machine. Previously, I was using a hand plane to flatten one side and taper the other.
I started with a pile of blanks just over 1/4″ thick with a strip of ebony glued to the top.
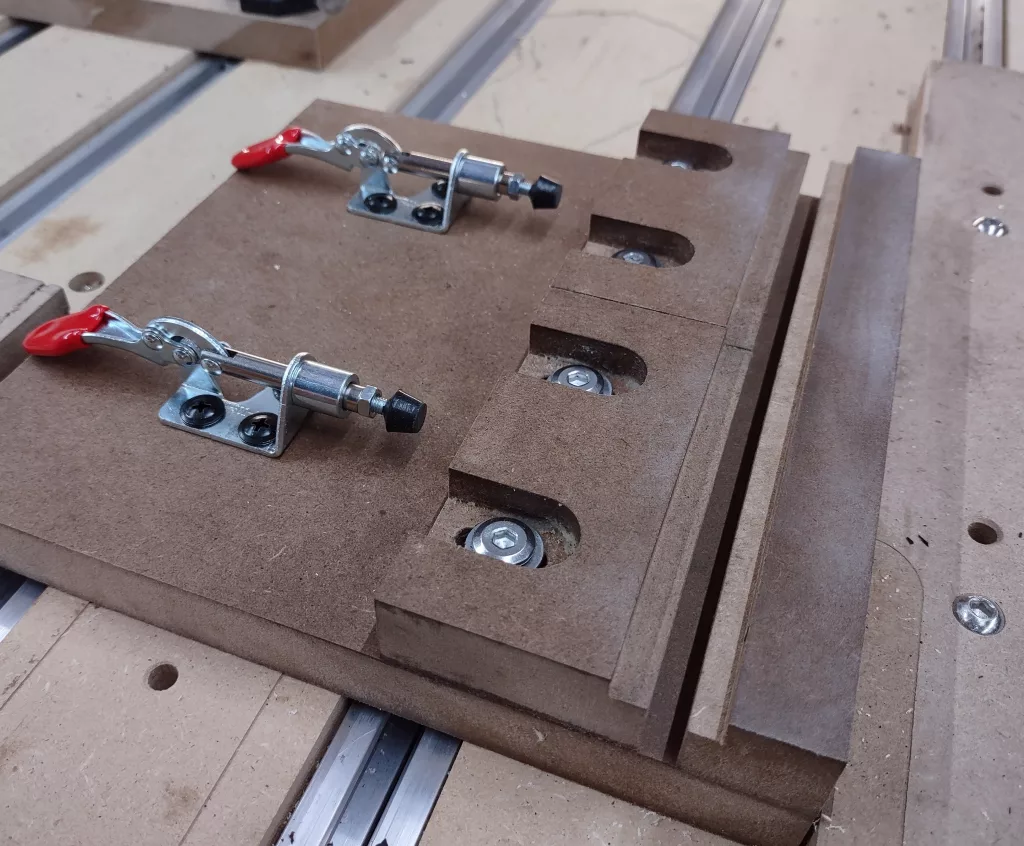
This fixture clamps the blank flat so that I can face it off with a 1″ router bit in my Shapeoko 5 CNC router.
I made the same fixture for the angle cuts but attached it to a laser-cut 8 degree angled mount.

I use this to make a supply of angled blanks. This is really nice because the ebony dust doesn’t get into the maple as it would if they were sanded.
The angled blanks are then attached to a fixture using the Blue Tape + CA Glue method. This fixture is just a piece of 3/4″ MDF that I lasered to have a good reference grid. The zero is set at the joint between the maple and ebony.
After cutting with the CNC using an 1/8″ down cut router bit, they look like this.

After pulling them off of the fixture using a sharpened putty knife, I then laser engrave my logo (a persimmon leaf) onto them.
The weights of them are fairly consistent but could be tweaked with sandpaper to get the desired weight.
