CNC and Laser Cut Mother of Pearl Inlay

The Problem
My banjo project is still making progress. I had a setback with the Tagua Nut Inlay where I used CA glue that caused color to bleed into the inlay. The red from the Padauk bled into the Tagua Nut and I had to start over on the peghead inlay. I’m not happy about having random pink blotchy inlay:

CAD / CAM Redesign
I did the fretboard mother of pearl inlays using my Shapeoko 5 Pro CNC router and a 1mm router bit. The design was redone since there are many small spaces that even a 1mm router bit can’t get into. The smallest cutter that I want to use on the CNC is 0.5mm 2-flute and those are very fragile. Solidworks was used to redesign the inlay to have a minimum radius on all corners of 0.025in.

CNC and Laser Experimentation
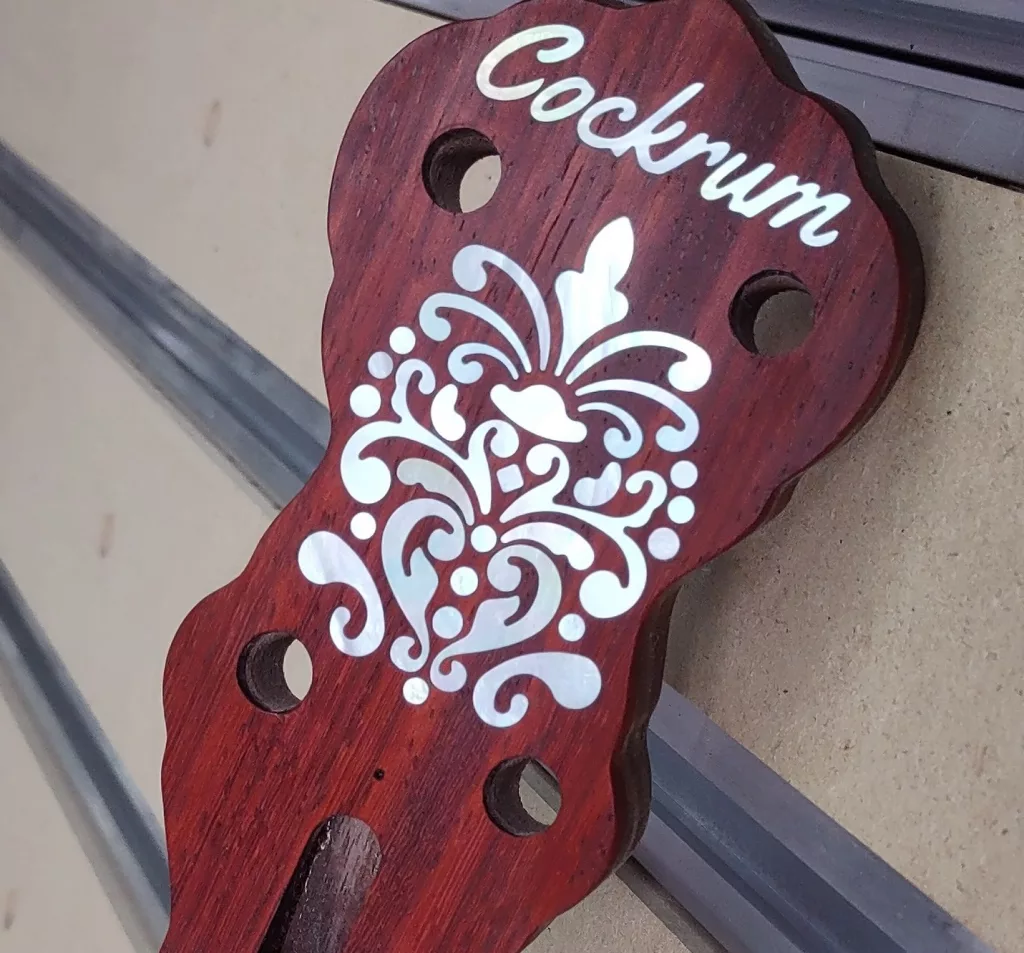
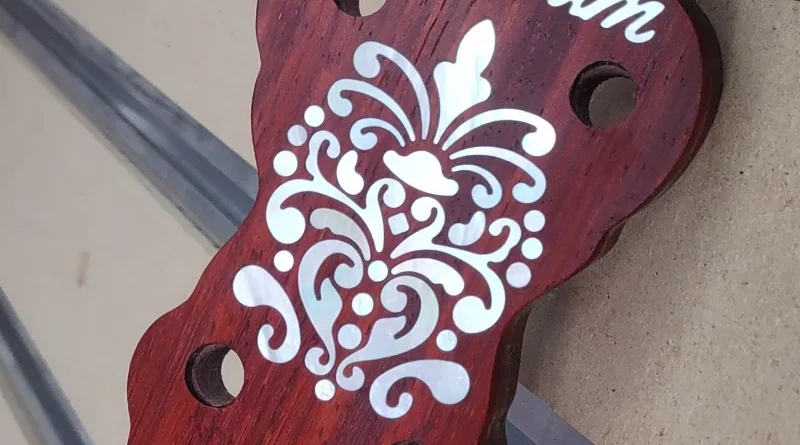
Since I got a new Nechville Atlas Turtle Hill Model, I needed a custom truss rod cover. This need prompted experimentation with CNC cutting mother of pearl and inlaying into wood. The hardest part is identifying a font and modifying it to have corners that the 0.5mm bit can cut. The walnut burl veneer like I documented previously is inlayed with white & gold mother of pearl sourced from eBay.

After a few broken 0.5mm bits due to excessive side-load, I settled on: 0.5mm 2 Flute Bits, 24,000 RPM, 10 IPM Feed, 3 IPM Plunge, 3 degree ramp, and 0.006in depth per pass. I found that using the standard blue-tape + CA glue method sufficiently held the mother of pearl down for CNC routing. The piece shown below took 6 minutes to cut out.

The CNC Inlay Results
I used my Omtech Polar laser to cut the padauk overlay. The inlay fit extremely well with almost no gaps anywhere. Here are some photos of the inlayed mother of pearl overlay and what it looks like fitted to the neck.